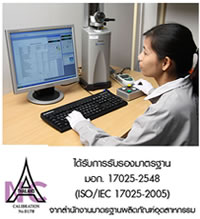
 Now, it has come to the matter of inability to “see the wood for the trees”. For those operators who are responsible for quality control, many question which laboratory they should send their tools or micrometers to be tested as there are many ISO/IEC 17025 certified and non certified laboratories available. The other issue to be considered is time and money involved which are substantially different. Many would choose the non-certified laboratories on the basis of a cheap investment, but they forget that those laboratories have no other operational expense other than for the 3 pages of paper to print the Certification of Calibration for us. Some calibration laboratories take a very short time to return the result that the quality of the testing process should be questioned. And it is not guaranteed that these laboratories use the testing process as regulated by the standard ISO/IEC 17025
procedure or if their standard measuring tools can be calibrated with an SI Unit. This is definitely not cost effective and could potentially ruin the company’s reputation. There are several examples of large car producers whose products do not meet minimum standards as a result of this same problem. Moreover, “when there are problems in the products, it is those who have measured them who will be the first suspect of the failure. Therefore, it is best to get off on the right foot by choosing the lab that is certified by the ISO/IEC 17025 accreditation body.” As these labs will be inspected twice a year, we do not need to worry about their level of credibility. In the next issue, we will discuss about the Best Measurement Capability (BMC) or Calibration Measurement Capability (CMC) which appear on many organization’s websites.

