The STREAM function provides an amazingly high throughput, due to the non-stop measurement where the camera motion and the strobe light are synchronized. It can shorten measuring time more than StrobeSnap due to the continuous element measurement as shown in the following conceptual image of measurement.
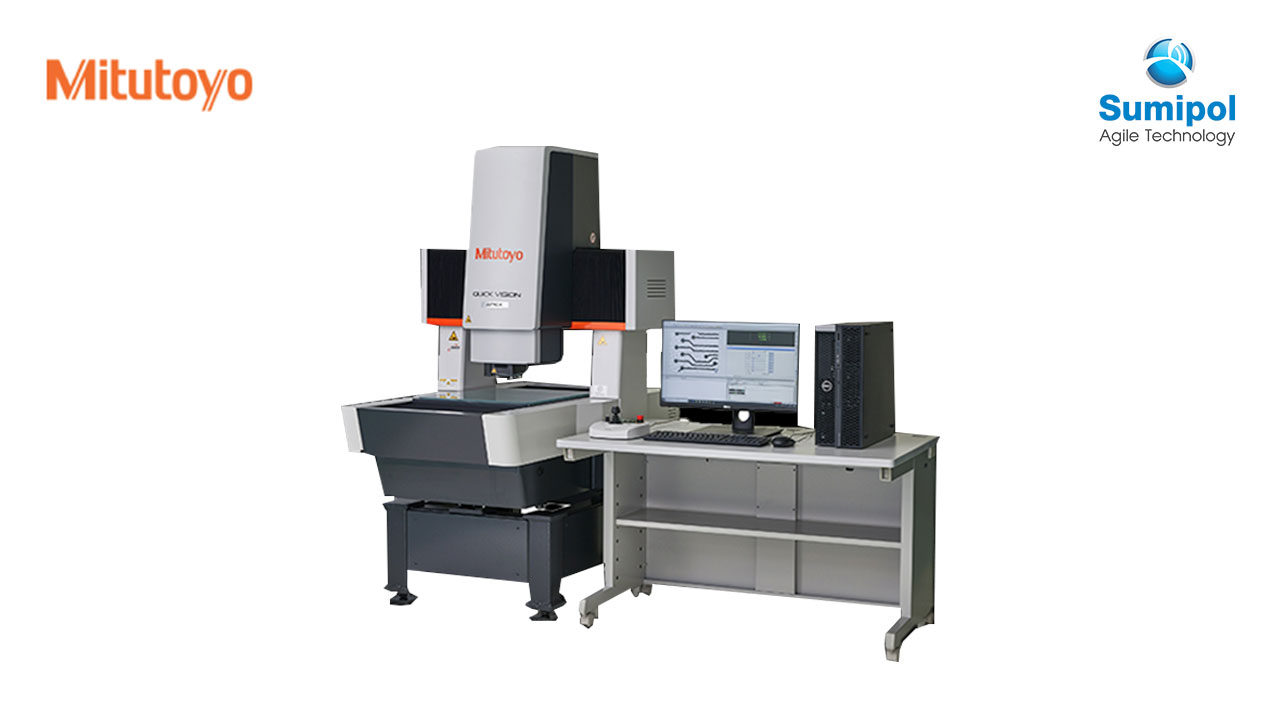
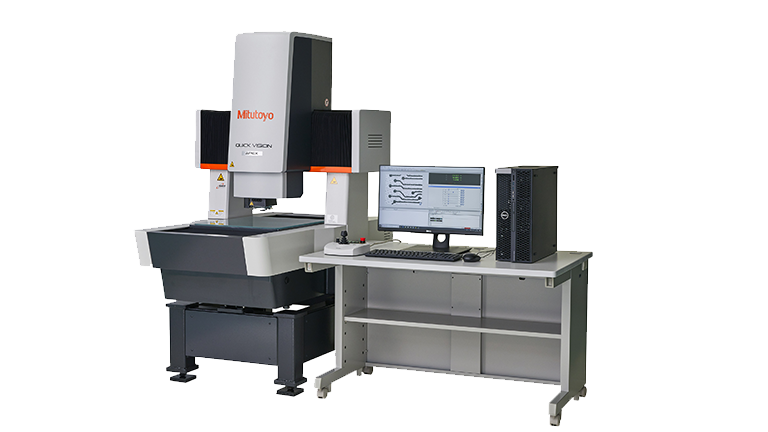
- This is a superior model of QUICK VISION, which is equipped with the StrobeSnap function as standard, enabling high-speed measurement.
- We offer a model with Tracking Auto Focus (TAF) that quickly focuses on the object improving throughput significantly.
- The camera motion and the strobe light are synchronized to make non-stop vision measurements without stopping the stage. This makes it possible to use STREAM to shorten measuring time dramatically.
Evolutionary Advancement
Highly Advanced Non-contact Measurement Technologies
- Well-designed main unit structured for high-accuracy measurement and auto focus.
- Integration of these high-performance technologies has made 3D non-contact measurement a reality.
- The QUICK VISION Pro, our CNC vision measuring machine family, never stops evolving
Enables high-throughput measurements required for vision measuring systems
- In recent years, the technology surrounding our lives has entered a period of substantial change. Daily updates and technological innovations in motorized vehicles, 5G communications, and IoT technologies are evolving with unprecedented speed.
- The QUICK VISION Pro was developed to keep pace with these technological innovations and industrial challenges.
Experience the high-throughput non-contact measurement that Mitutoyo offers.
APPLICATION
Example of non-stop measurement by STREAM
- The high-throughput measurement of QUICK VISION Pro is suitable for measuring position
 information in the RDL process for semiconductor package FO-PLP. Moreover, rich IO software (optional) means you can easily incorporate automation, such as automatic transfer of workpieces
with a SCARA robot, etc.

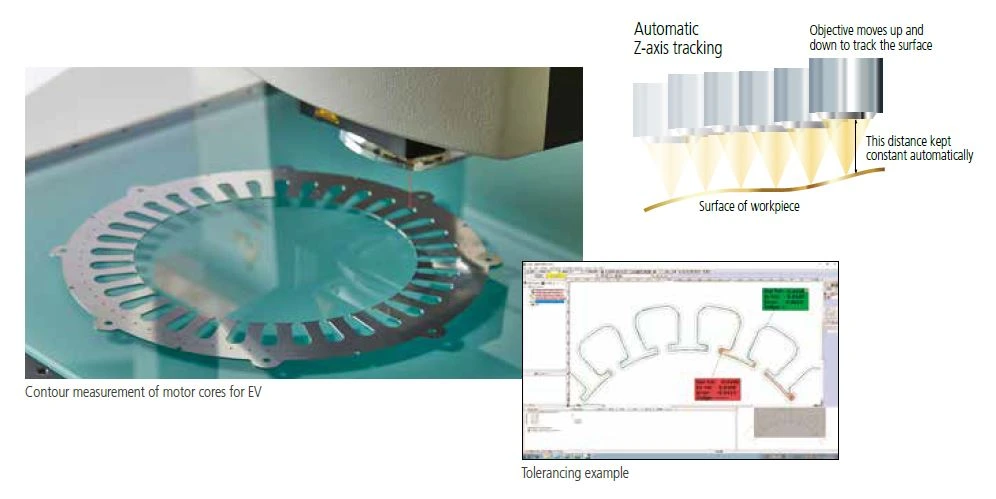
Example of Z-axis tracking high-throughput measurement
- QUICK VISION Pro can deliver high-speed and high-efficiency edge detection, due to the newly developed StrobeSnap function. By utilizing the TAF (Tracking Auto Focus), it can deliver high-speed measurement of an edge that fluctuates in the vertical direction, by tracking the edge automatically.
Example of measuring medical device components
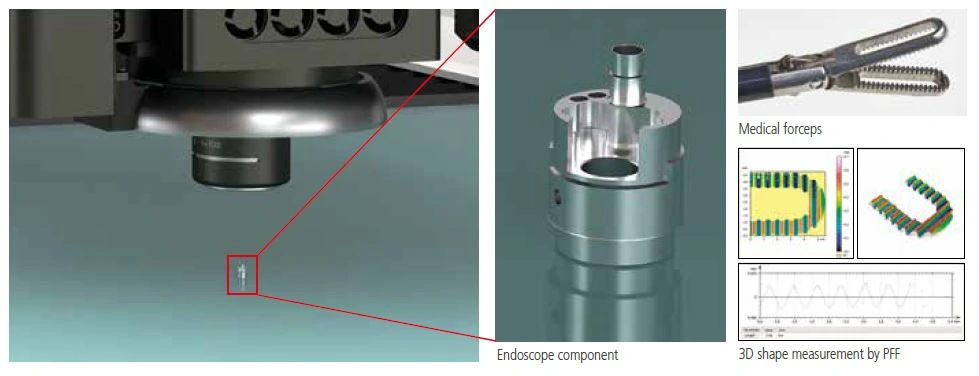
- When measuring “Medical” components of ultra-small dimensions requiring high “reliability”
QUICK VISION Pro is effective in ultra-small workpieces, due to a wide variety of objective lenses.
Therefore, even a fine contour that is difficult for conventional contact-type measuring instruments can be measured by PFF, which performs 3D measurement based on image contrasts, and CPS (non-contact displacement sensor).
TECHNOLOGY Rich functionality supporting various kinds of measurement
- The QUICK VISION Pro achieves the high-level integration of the measurement technologies that Mitutoyo has developed over the years. By combining standard objective lenses, special software (QVPAK), and various optional sensors, the QUICK VISION Pro provides a wide range of functions to support various kinds of measurement. While meeting the growing requirements of measurement environments, the
- QV Pro continues to improve these functions to strongly support solving any challenges.
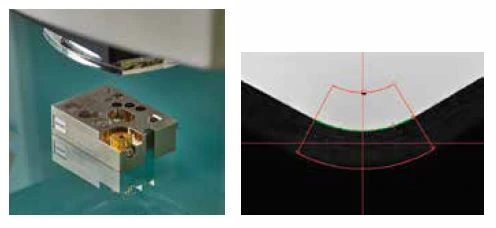
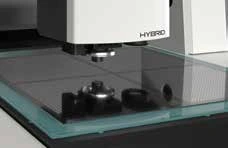
StrobeSnap : A magnified image captured through the optical lens is displayed on a PC screen.
Various functions including edge detection and auto focus can be used for dimensional
measurement (common to all models).
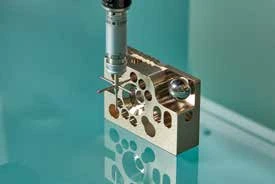
Touch Trigger Probe : Measuring a 3D object without repositioning
By also using the touch trigger probe, the system can capture a 3D object by measuring its sides at a given height without rotating it, something that is difficult with the camera alone.
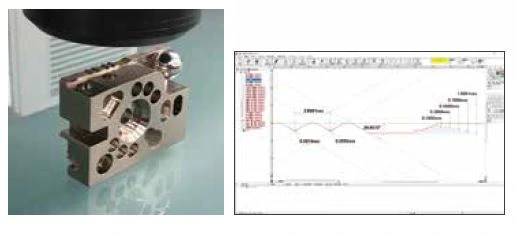
CPS Probe : Non-contact measurement of steep angle surfaces and transparent objects
Differences in the focal length of the white light source are used to measure an angled surface. Additionally, thickness of a thin, transparent object is measured by simultaneous detection of surface heights at two points on the object.
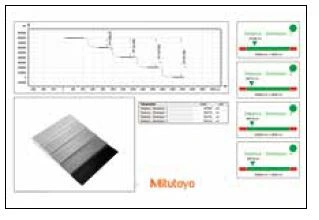
White Light Interferometer : Capturing microscopic features of a 3D object using white light interference
Using the white light interference that occurs between the system and the object, the system performs high-accuracy 3D measurement for surface texture analysis (roughness, etc.) and shape measurement (irregularities of several μm) in a minute area
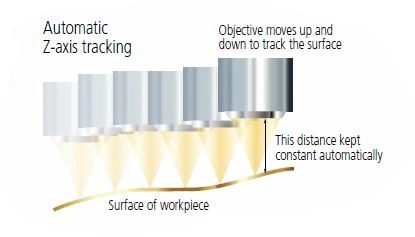
Tracking Auto Focus (TAF) : Measuring shapes of all kinds of objects
Laser emitted from the objective lens enables automatic focusing.
The system automatically keeps the object in focus according to its shape,
eliminating the task of focus adjustment and increasing measurement
throughput.
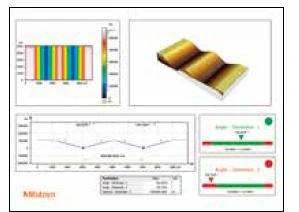
PFF (Points From Focus) 3D : measurement with multiple cross-section images
Scanning the object by auto focusing the objective lens can capture multiple cross-section images (image contrasts) at different heights. Thus obtaining 3D shape data from such images
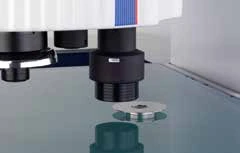
Laser Probe : High-speed non-contact measurement of minute height difference and curved shape
The laser confocal sensor, less affected by the color of the object, can scan surfaces. The sensor scans the object to capture the surface shape data in a non-contact manner
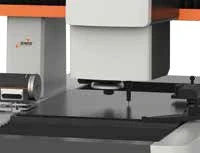
QV Index : Simple measurement procedure
The indexing table turns the object to enable automatic measurement of multiple surfaces in a single setup.

 information in the RDL process for semiconductor package FO-PLP. Moreover, rich IO software (optional) means you can easily incorporate automation, such as automatic transfer of workpieces